Getting Started#
In this document, we'll cover how to install GameKit and build a simple application with it.
Requirements#
To create a project depending on GameKit, you must have the following installed and configured:
- Java Development Kit (18+)
- A Java IDE (IntelliJ IDEA, Eclipse, Netbeans, VSCode, etc)
- Maven build tool and dependency manager (3.9.9+)
Installation#
GameKit is distributed as a Maven dependency. Include it in your project by adding its dependency to your pom.xml,
then reload your Maven project in your IDE or run mvn clean compile to download the dependencies.
<?xml version="1.0" encoding="UTF-8"?>

<project>
    ...
    <repositories>
        ...
        <!-- Include the repository block -->
        <repository>
            <id>github-maven</id>
            <name>GameKit GitHub Maven</name>
            <url>https://raw.github.com/kwameopareasiedu/gamekit-maven/master</url>
        </repository>
    </repositories>

    <dependencies>
        ...
        <!-- Include the dependency block -->
        <dependency>
            <groupId>dev.gamekit</groupId>
            <artifactId>engine</artifactId>
            <!-- Replace`{VERSION} with the intended version -->
            <version>{VERSION}</version>
        </dependency>
    </dependencies>
</project>
Find all versions on the releases page.
Hello GameKit#
Let's get started with a very simple application. Think of this as a "Hello World" GameKit sample.
HelloGame.java
import dev.gamekit.core.Application;
import dev.gamekit.core.Renderer;
import dev.gamekit.core.Scene;
import java.awt.Color;
public class HelloGame extends Scene {
public HelloGame() {
super("Hello Game");
}
public static void main(String[] args) {
// Create a new application
Application game = new Application("A Simple Application") { };
// Load an instance of our scene class
game.loadScene(new HelloGame());
// Run the game application
game.run();
}
@Override
public void render() {
// Clear the screen with black
Renderer.clear(Color.BLACK);
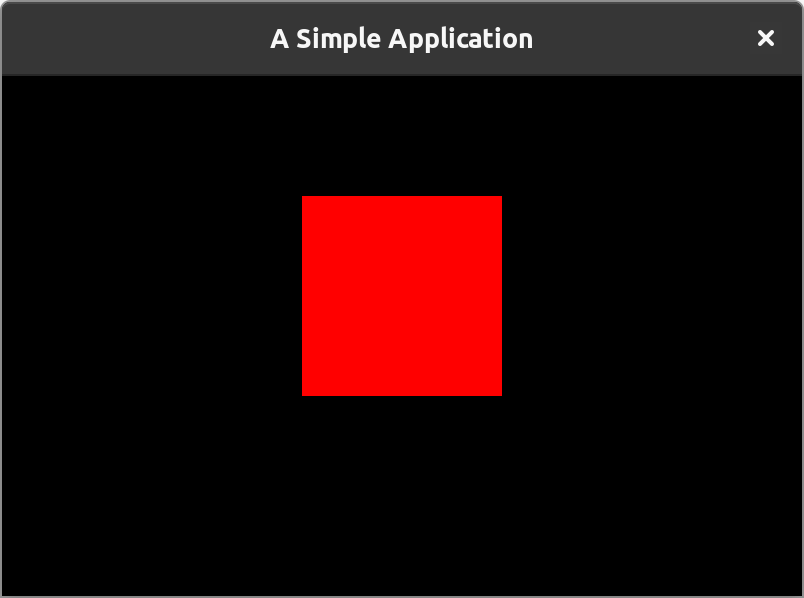
// Draw a red-filled box
Renderer.fillRect(0, 0, 200, 200).withColor(Color.RED);
}
}
Running this application should give you a window like this:
What we have done#
- We extended the
Sceneclass, which represents a logical part of our game (More on scenes later). - In the
renderlifecycle method, we cleared the screen with color. black and drew a red 200x200px box. - In the static
mainmethod, we created anApplicationinstance with title, "A Simple Application", loaded an instance of our scene subclass and called therunmethod to start the application.
A Little Deeper#
That definitely doesn't sound right 😄
In the previous section, we extended the Scene class, rendered stuff unto the window and created an Application to
run it all.
We'll take it a step further in this section by creating a simple color switcher game which will render a colored box and when the space bar is pressed, it will cycle through red, yellow and green.
ColorSwitcher.java
import dev.gamekit.core.Application;
import dev.gamekit.core.Input;
import dev.gamekit.core.Renderer;
import dev.gamekit.core.Scene;
import dev.gamekit.ui.enums.Alignment;
import dev.gamekit.ui.widgets.Align;
import dev.gamekit.ui.widgets.Padding;
import dev.gamekit.ui.widgets.Text;
import dev.gamekit.ui.widgets.Widget;
import dev.gamekit.utils.Math;

import java.awt.*;

public class ColorSwitcher extends Scene {
  private static final Color[] COLORS = { Color.RED, Color.YELLOW, Color.GREEN };
  private static final String[] COLOR_NAMES = { "Red", "Yellow", "Green" };

  private int selectedIndex = 0;

  public ColorSwitcher() {
    super("Gameplay");
  }

  public static void main(String[] args) {
    Application game = new Application("Color Switcher") { };
    game.loadScene(new ColorSwitcher());
    game.run();
  }

  @Override
  protected void update() {
    if (Input.isKeyDown(Input.KEY_SPACE)) {
      selectedIndex = Math.cycle(selectedIndex + 1, 0, COLORS.length - 1);
      updateUI();
    }
  }

  @Override
  protected void render() {
    Renderer.clear(Color.DARK_GRAY);
    Renderer.fillRect(0, 0, 200, 200).withColor(COLORS[selectedIndex]);
  }

  @Override
  protected Widget createUI() {
    return Align.create(
      props -> {
        props.horizontalAlignment = Alignment.CENTER;
        props.verticalAlignment = Alignment.END;
      },
      Padding.create(
        48, Text.create(
          props -> {
            props.text = String.format("Color is %s", COLOR_NAMES[selectedIndex]);
            props.fontSize = 32;
            props.alignment = Alignment.CENTER;
            props.fontStyle = Text.BOLD;
          }
        )
      )
    );
  }
}
Running this application should result in the following:
What we have done#
- We extended the
Sceneclass which represents a logical part of our game. - We defined our color and color names arrays with a
selectedIndexfield. - In the
updatelifecycle method we check if the space bar has just been pressed using theInputclass and cycle theselectedIndexbetween 0 andCOLORS.length. We also callupdateUIto indicate that the UI should be rebuilt, since we use the value ofselectedIndexin our UI definition. - In the
renderlifecycle method, we cleared the screen with color black and box using the selected color. - In the
createUIlifecycle method, we created a centered, bottom-aligned text with padding of 48px which displays " Color is {SELECTED_COLOR}". - In the static
mainmethod, we created anApplicationinstance with title, "Color Switcher", loaded an instance of our scene subclass and called therunmethod to start the application.
Next Steps#
Congratulations on making to the end of this getting-started guide and creating your first game with GameKit. Hopefully, you can see how easy it is to create games with the engine.
As you delve more into the documentation, we'll explore more GameKit features such as audio, physics, input, UI and IO.
From here, you can check out more examples or explore the engine features.