User Interface (UI)#
User interface (UI) refers to the visual elements that convey information to the player and can allow the player interact with the game world. These components include text, buttons, sliders, input boxes and toggles amongst others.
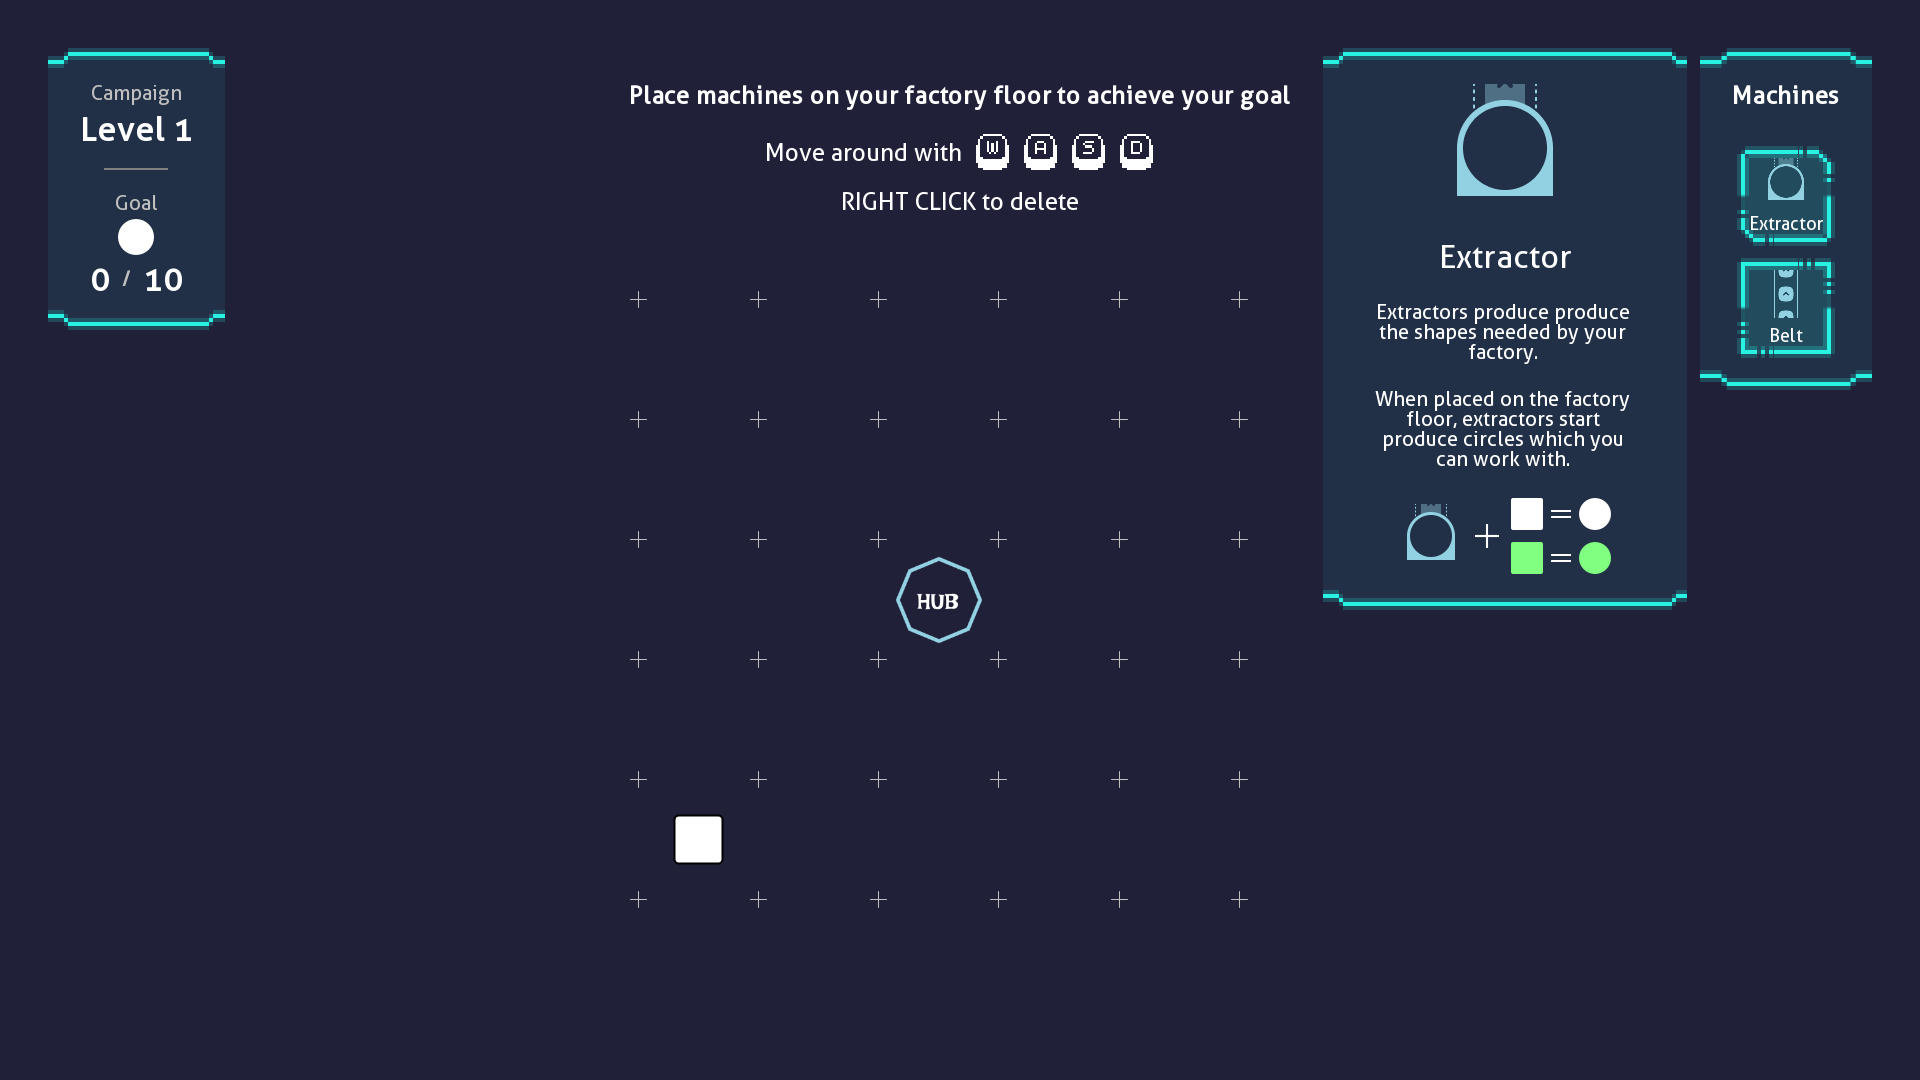 Industrio UI (Created with GameKit)
GameKit's provides a simple framework that makes creating and managing user-interfaces a breeze, compared to other game engines.
The Widget#
A widget is an object that represents a portion of your UI and are the building blocks of UI in GameKit.
A widget can be a piece of text, a button, panel, column or row. Widgets can have visual representation (I.e. something you can see on screen) (E.g. text, progress) or handle layout of other widgets with no visual representation themselves (E.g. row, column, stack, padding, align) or sometimes both (E.g. button).
In our UI sample from the chapter on Scenes, we overrode the createUI method and returned
this tree of widgets:
Align -> Padding -> Text
/** Hidden imports for brevity */

public class UIShowcase extends Scene {
  /** Hidden other scene code for brevity */

  @Override
  protected Widget createUI() {
    return Align.create(
      props -> {
        props.horizontalAlignment = Alignment.CENTER;
        props.verticalAlignment = Alignment.END;
      },
      Padding.create(
        48, Text.create(
          props -> {
            props.text = "Hello World";
            props.fontSize = 32;
            props.alignment = Alignment.CENTER;
            props.fontStyle = Text.BOLD;
          }
        )
      )
    );
  }
}
This is generally how widgets are composed in GameKit. You start from your root widget and branch out to create the specific elements needed.
Widgets in GameKit are designed to be as atomic as possible, meaning they only do one thing, and they do it really well.
As an example, instead of a Button widget having a padding property, it should be wrapped in a Padding widget. Also,
instead of Button having a text property, a Text widget will be used as it's a child.
The atomic nature of widgets prevents duplicated features, keeps their source code simple and very easy to debug and maintain.
Widget Categories#
GameKit widgets are placed in two (2) categories, which are summarized in the table below:
| Category | Description | Widgets |
|---|---|---|
| Parent | Widgets which nest one or more widgets within them. They are used for layout and usually don't have a visual appearance | Row, Column, Stack, Scaled, Padding, Align, Sized, Theme, Panel, Opacity, Button, Checkbox, Compose, Builder, Stateful |
| Leaf | Widgets which don't nest other widgets and have visual representations | Text, Field, Image, Progress, Slider, Gap, Empty |
Widget Customization#
Widgets can be created in one of two ways:
- Invoking the constructor (E.g.
new Text(configUpdater)) or - Calling the static
createmethod on the widget class (E.g.Text.create(configUpdater))
In each case you need to provide a lambda function which you can use to customize the widget properties. This function is called with a new instance of the widget's properties which you can then customize.
Padding.create(
  props -> {
    // Padding of 10px top, 20px right, 30px bottom, 40px left
    props.padding = new Spacing(10, 20, 30, 40);
  },
  /** Child widget here */
)
Some widgets provide overloads of the static create method for simpler setup. An example is shown below with the
Padding widget, which is the same as the code snippet above:
Padding.create(
  10, 20, 30, 40,
  /** Child widget here */
)
Updating UI#
UI is rarely static. It should react to events occurring within your game world.
In most other game engines, you have to control how the UI is updated. This usually means getting a reference to UI elements and changing properties on them. As an example, when the player takes damage, you need to reference the health text and/or progress bar and write code to set their manually.
Here's a pseudocode of how that looks like:
health = 100;
healthText = /* Code to get a reference to the health text UI */;
healthProgress = /* Code to get a reference to the health progress bar */;
...
func onPlayerDamage (amount) {
    health -= amount;
    healthText.text = health;
    healthProgress.val = health;
}
While this is ok and most likely seems familiar to you, it gets quite cumbersome as the number of elements to keep track of grows. You'd have so many UI element references and have to keep track of which elements should be changed.
To tackle this, GameKit uses what we call a declarative UI. Here, you only change variables your UI depends on and let the engine compute the updated UI which reflect the new values.
This eliminates the need for any UI element reference, and you don't need to specify step-by-step how the UI should change.
Let's look at a simple counter game. When a button is clicked, the counter goes up and the UI is updated to show the new value.
import dev.gamekit.core.Application;
import dev.gamekit.core.Renderer;
import dev.gamekit.core.Scene;
import dev.gamekit.settings.Resolution;
import dev.gamekit.settings.Settings;
import dev.gamekit.settings.TextAntialiasing;
import dev.gamekit.settings.WindowMode;
import dev.gamekit.ui.enums.Alignment;
import dev.gamekit.ui.enums.CrossAxisAlignment;
import dev.gamekit.ui.events.MouseEvent;
import dev.gamekit.ui.widgets.*;
import dev.gamekit.ui.widgets.Button;

import java.awt.*;

public class Counter extends Scene {
  private int counter = 0;

  public Counter() {
    super("Counter");
  }

  public static void main(String[] args) {
    Application game = new Application(
      new Settings("Counter", WindowMode.WINDOWED, Resolution.HD, TextAntialiasing.ON)
    ) { };
    game.loadScene(new Counter());
    game.run();
  }

  @Override
  protected void render() {
    Renderer.clear(Color.BLACK);
  }

  @Override
  protected Widget createUI() {
    return Center.create(
      Column.create(
        props -> {
          props.crossAxisAlignment = CrossAxisAlignment.CENTER;
          props.gapSize = 24;
        },
        Text.create(
          props -> {
            props.fontSize = 72;
            props.alignment = Alignment.CENTER;
            props.text = String.format("Counter: %d", counter);
          }
        ),
        Sized.create(
          props -> {
            props.fixedWidth = 128.0;
            props.fixedHeight = 64.0;
          },
          Button.create(
            props -> {
              props.mouseListener = this::incrementCounter;
            },
            Text.create("Click Me")
          )
        )
      )
    );
  }

  private void incrementCounter(MouseEvent event) {
    if (event.type == MouseEvent.Type.CLICK) {
      counter++;
      updateUI();
    }
  }
}
Running this application should result in the following:
What we have done#
- We created a centered column widget containing a text which displays the
countervariable and a button to increment the value ofcounterwhen pressed. - In the
incrementCountermethod, we check callupdateUI()after incrementing the count to instruct the engine to rebuild the UI with the updatedcountervalue. - In the static
mainmethod, we created anApplicationinstance with title, "Counter", loaded an instance of our scene subclass and called therunmethod to start the application.
Summary#
Creating and managing UI doesn't have to be rocket science and GameKit gives you the tools to do this. The declarative
nature of UI removes the need for manual updates, allowing the engine to help you focus on game logic. Whenever we
update a variable the UI depends on, call the updateUI method in the Scene class and GameKit will handle the rest.
From here, you can check out more UI examples to get even more familiar with the GameKit's UI toolkit.